Steam saves game recordings in the recording folder shown under Steam > Settings > Game Recording, and you can move that folder to any drive from the same screen. To get a recording onto your PC as a normal video, save the moment as a clip, then choose Export Video File to create an MP4. For surprise highlights, turn on Record in Background with a storage limit you can afford; Steam keeps a rolling buffer while you play, so you can clip a good round after it happens. Choose Record on Demand if you only want planned sessions.
This is a game recorder, not a desktop recorder. Valve says it captures gameplay from games played through the Steam client and does not capture video of other programs or the desktop, though its audio options can include other applications such as voice chat. It works with Steam games that support the Steam Overlay, with older titles listed as a possible exception. Check that the Overlay works in the game you want to record before relying on it for a one-off event. If the Game Recording menu is missing entirely, update the Steam client before looking for a separate capture app.
Choose the recording mode for the moment you want
Record in Background is for highlights you cannot schedule. Steam starts capturing when you play, retains temporary footage within the space limit you set, and overwrites the oldest material once that allocation is full. That means it is sensible for competitive matches, strange bugs, speedrun attempts or a co-op session where the best moment might happen without warning. It is not a permanent archive. Until you turn a section into a saved clip, regard the rolling footage as a short-term safety net that can disappear as you keep playing.
Record on Demand is the cleaner choice for a planned tutorial, a boss attempt, or a session you know you want to document from the first minute. It only records when you turn it on, so it cannot recover a surprise that happened earlier in the session. Valve's support page presents both modes in the same settings area, alongside the folder, audio, shortcut and storage controls. Pick the one that matches how you play.
Set a sensible storage and quality ceiling
Still in Steam > Settings > Game Recording, choose the recording folder and the maximum disk space reserved for background footage. Put the temporary recording folder on a drive with room to spare, but do not point it at a nearly full disk just because it is faster. Valve confirms that the background allocation is temporary and will be overwritten when it reaches its limit; saved clips are the items you intend to retain. A modest buffer is usually easier to manage than a huge one you never review. Increase it only when your normal play sessions make that short window genuinely unhelpful.
Quality and length are practical trade-offs, not a badge of seriousness. More resolution, frame rate or recording time can need more storage and processing power. Valve says Game Recording uses NVIDIA and AMD graphics hardware to reduce the recording cost where available, while systems without those graphics cards can use the CPU and may see a noticeable performance impact. Start with the settings Steam selects, play a demanding section, then lower the quality, frame rate or background length if the game becomes less smooth or the drive warning appears. Change one setting at a time so the result is clear.
Mark the part you want before it is overwritten
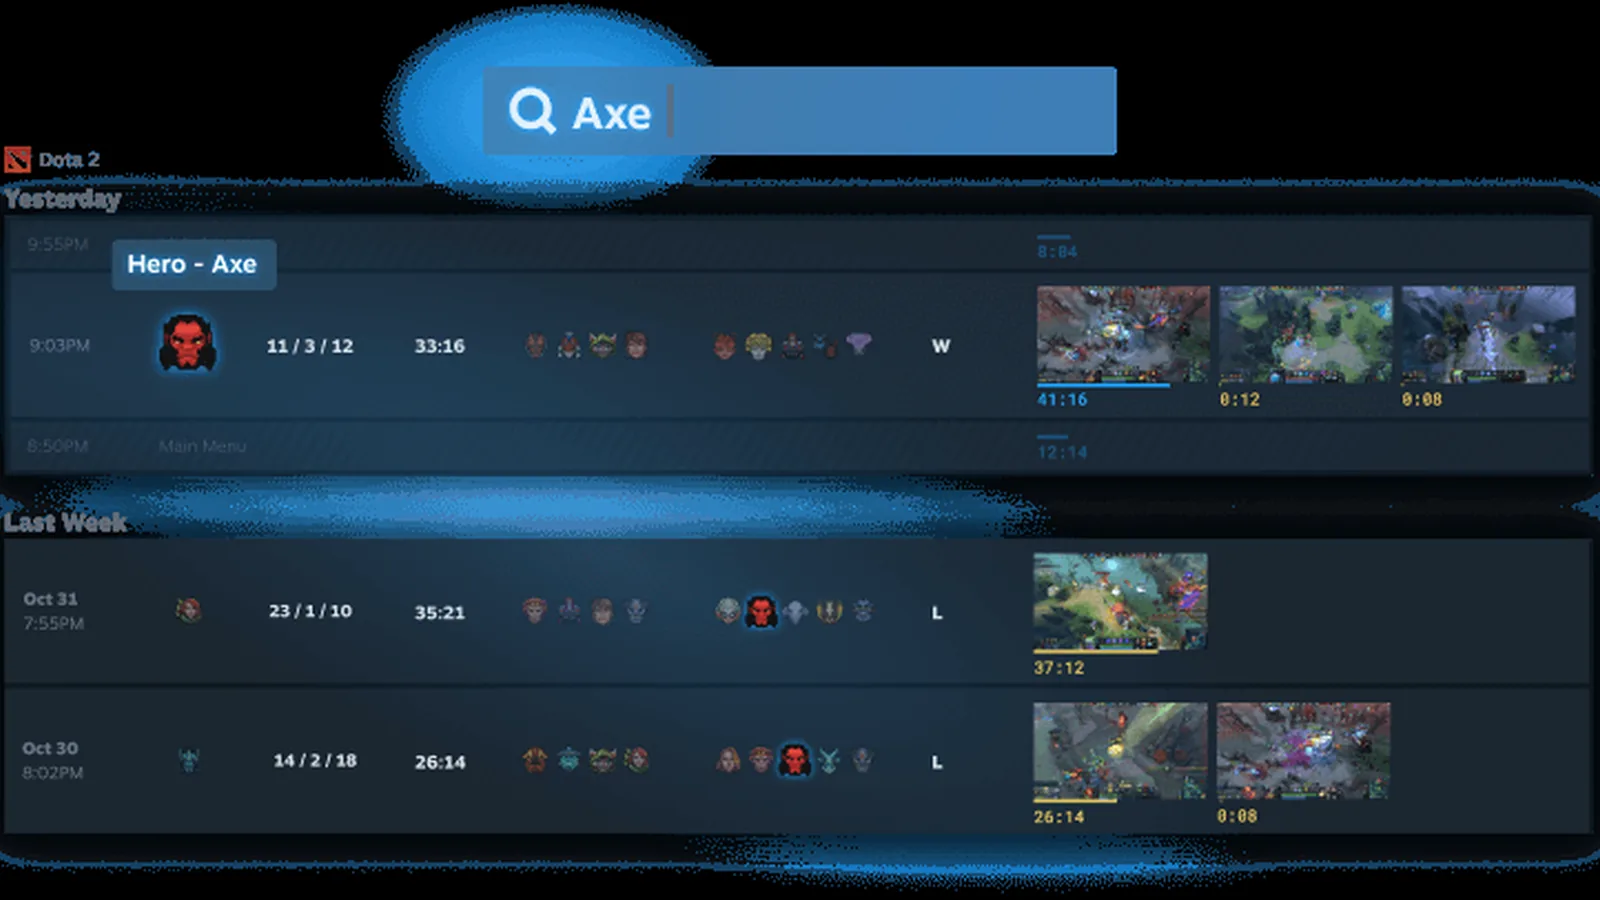
While you are playing, use the Game Recording tab in the Steam Overlay to inspect the timeline. You can also open the same material later from View > Recordings & Screenshots in the desktop client. If something worth revisiting happens, press Ctrl+F12 to drop a marker at that point; Valve says the shortcut is customisable, so check it before a session if another program already uses it. Markers do not make a finished video by themselves. They make the relevant part of a long timeline quicker to find when you are ready to trim it.
On the timeline, use Clip to place a suggested selection around the moment. Drag its ends, or use the Start Clip and End Clip controls, until the beginning and finish are exactly where you want them. Saving turns that section into a permanent clip shown as a yellow bar in Steam's timeline. This is the step that protects it from the background buffer being overwritten. Games can add their own timeline events where they support Steam Timeline, but do not rely on that for every title; your own marker and a short saved clip remain the dependable route.
Export only after saving the clip
Raw background footage is not yet a normal video file you can attach anywhere. Valve's support page says to create a clip first, then choose Export Video File when you need an MP4 for an editor, another service or local storage. The same Share menu can save the clip inside Steam, copy it to the clipboard, send it to another recently used Steam device, or create a short-lived share link. Save in Steam is useful when you want to return and edit later; export is the better choice when another program needs the actual video file.
If recording stops with a low-disk-space warning, free space, change the recording folder to a roomier drive, or reduce the background length or quality in Game Recording settings. If the timeline says No Recording Available, remember that footage can be missing around game launch, shutdown or a resolution change. Test the recorder for a few minutes before an important match, then check that a short clip saves and exports correctly. That small rehearsal is the fastest way to avoid losing the moment you meant to keep.
The useful setup
- Unexpected highlights
- Use Record in Background with a conservative disk-space limit and save clips promptly.
- Planned footage
- Use Record on Demand so Steam captures only the session you intentionally start.
- Keepable file
- Trim a clip first, then use Export Video File to create an MP4.
Steam Game Recording is most useful when the temporary replay buffer stays small enough to manage and the clips that matter are saved before the buffer moves on.
Sources
Where this story comes from, and where you can check it.
Official sources
- Steam SupportSteam Game Recording ↗
- SteamSteam Game Recording ↗